Getting Started with Monash Hub
Welcome to Monash hub, your all in one place to track work, manage projects and make sure that the things you need to get done, get done.
This document will walk you through how to interact with this application. The terminology that you will see in the application and other things.
Making an account
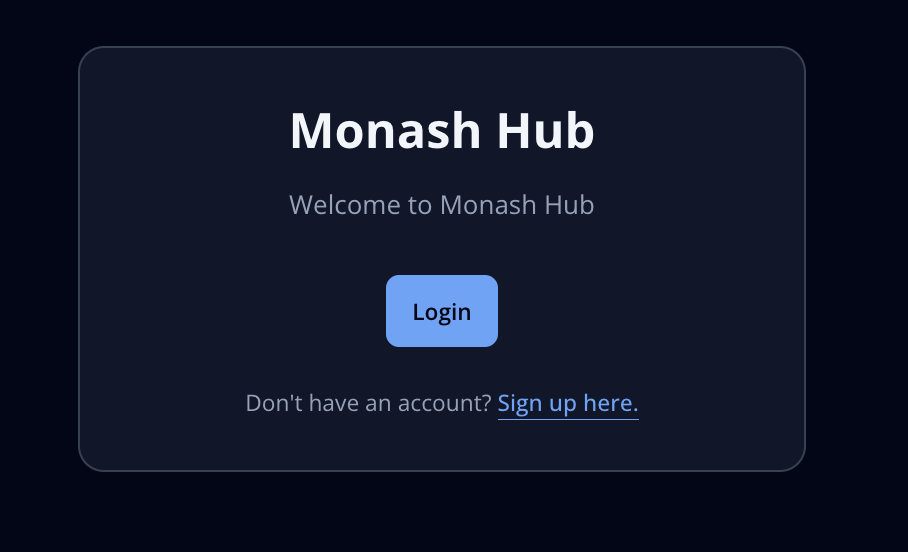
On your first login, you will be prompted to sign in. If you already have an account with Monash Hub, skip ahead to Home Screen
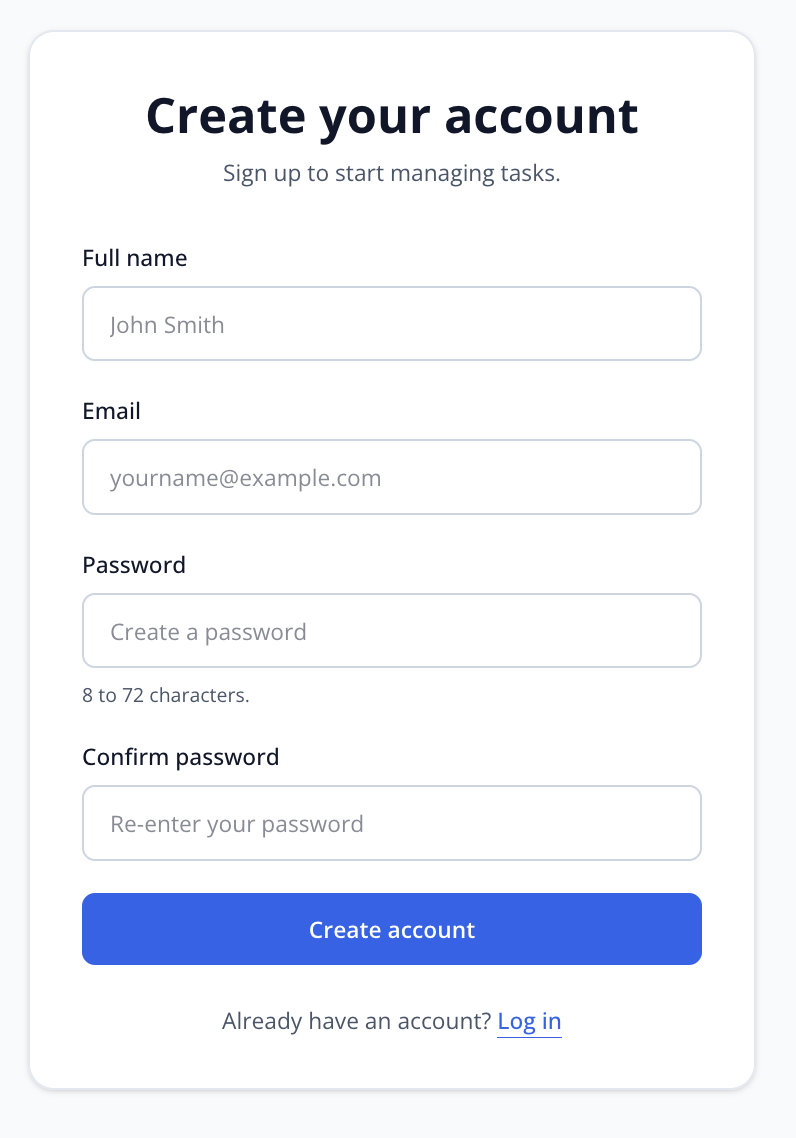
Signing Up
In the Sign Up page, you will be prompted to make an account with Monash Hub. After filling out the form details, you will be sent a confirmation email. Follow the instructions in the email to confirm your account creation.
[!IMPORTANT]
You may have to await approval from your admin before you are granted access to the application
Home Screen
Upon successful login, you will be taken to the following dashboard:
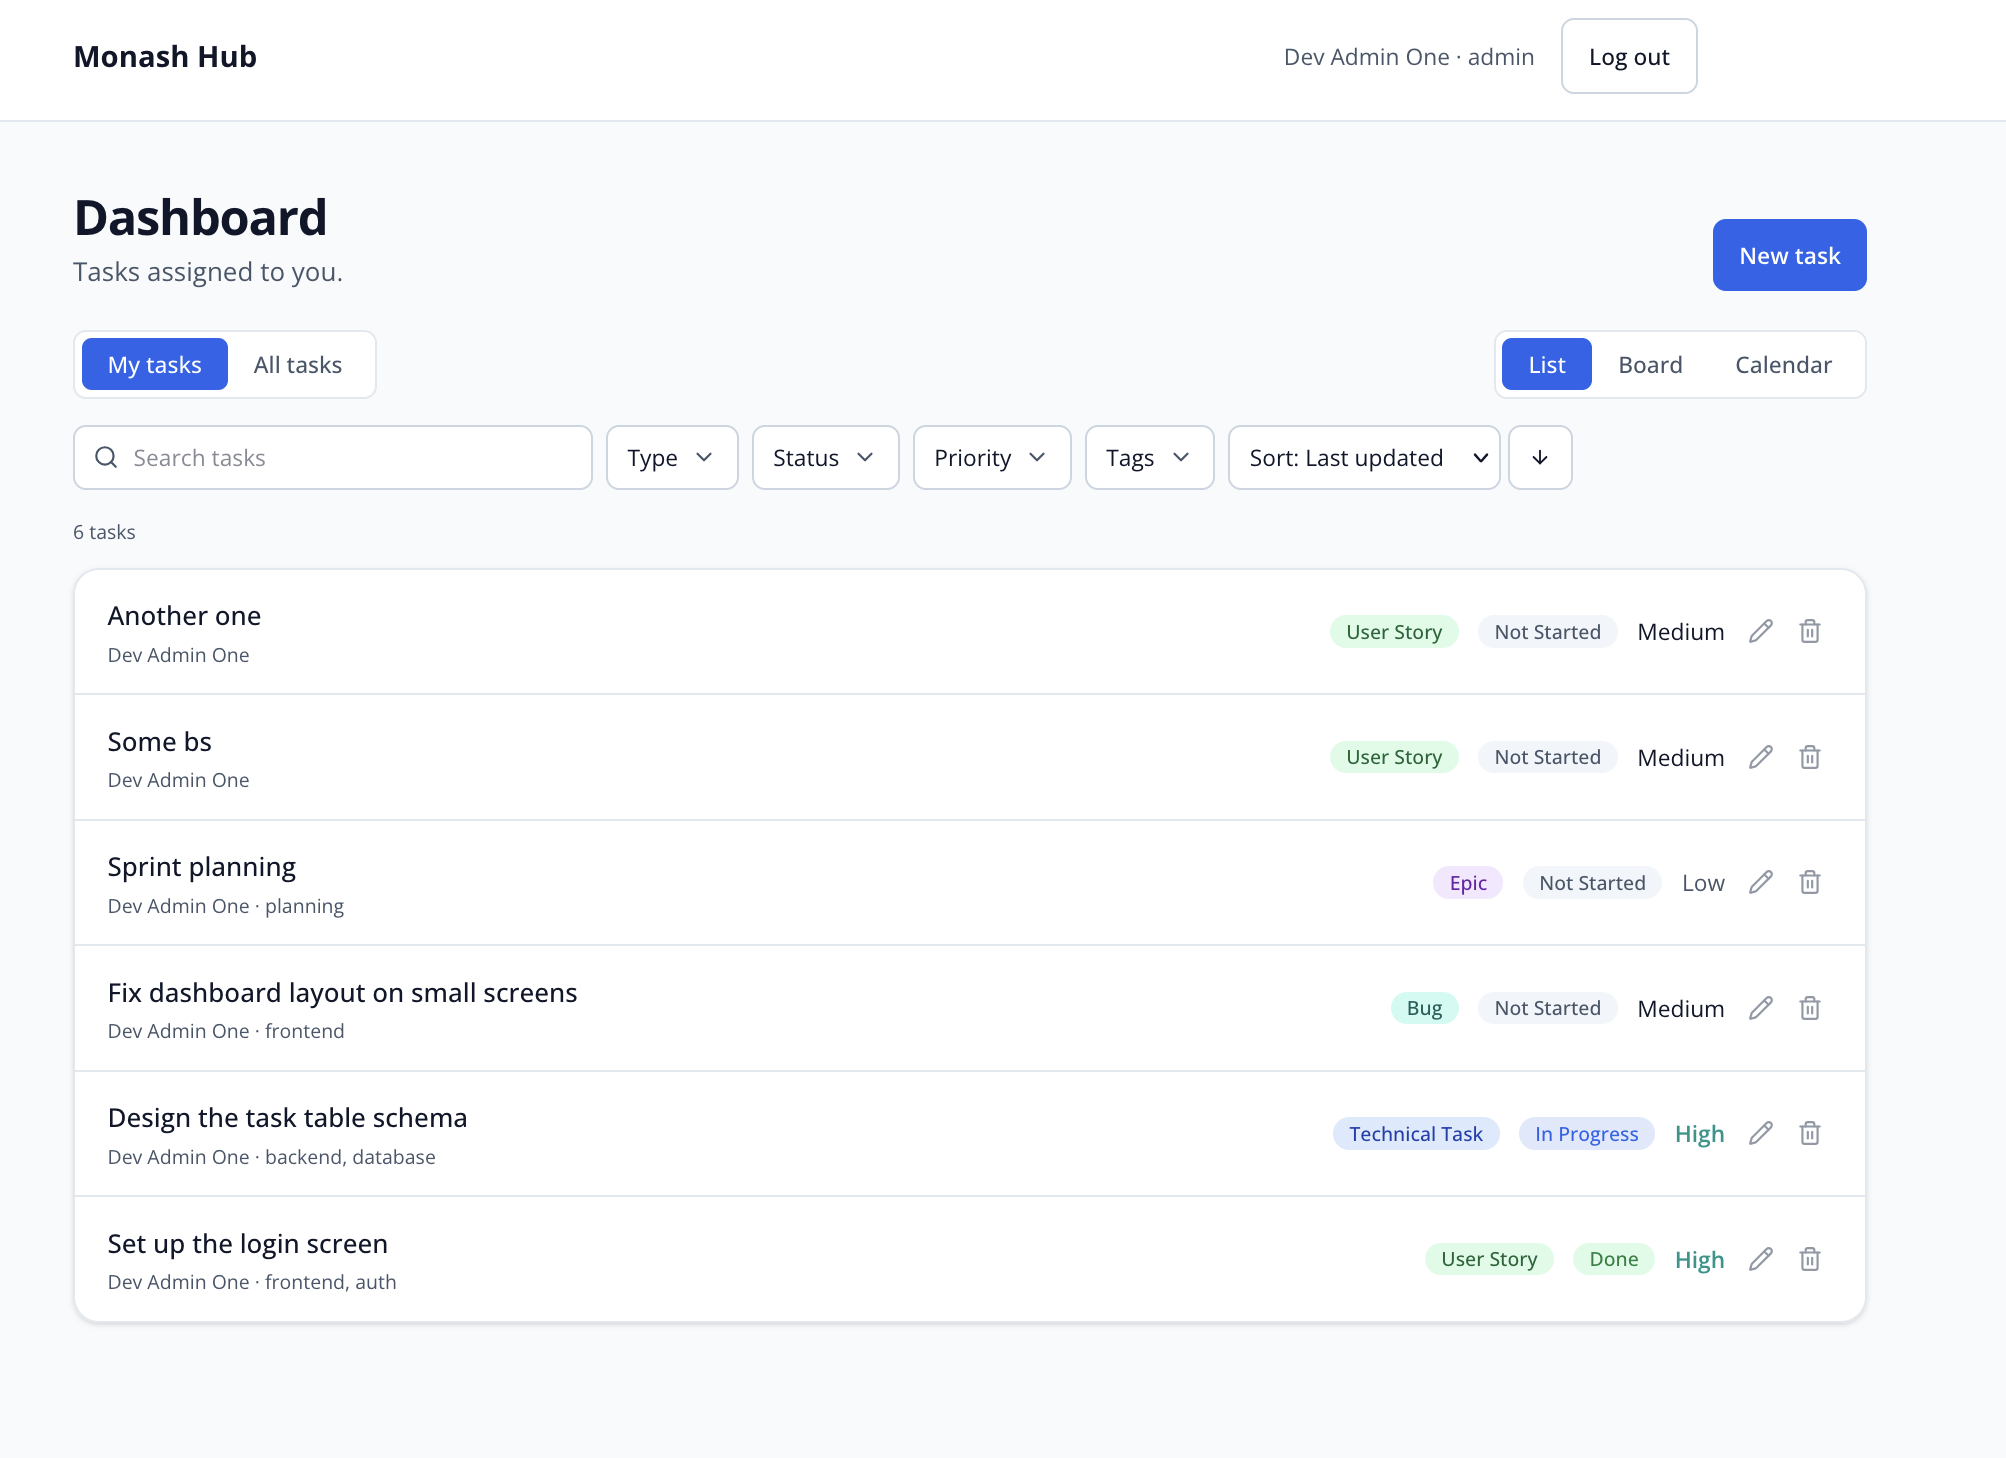
Here you can see an overview of the work that you have assigned. You can click
the toggle that says All Tasks to view all tasks that have been created in the
project that you are currently working on.
You can use the toggle menu on the top right to switch between the supported views
- List
- Board
- Calendar
New Tasks
You can add new tasks by clicking on the New Task button on the top right of
the screen. This will take you to the following view.
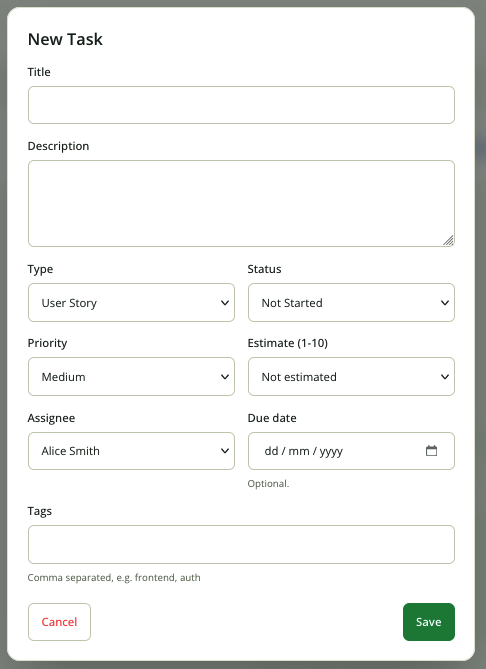
You can fill out the fields in the modal in order to add a task to the current project that you are working on.
Once a task has been added, it will be visible in the Dashboard for all users
that have access to a given project.